역할 기반 관리란?

이전까지는 JWT 토큰만 있으면 누구나 특정 API에 접근할 수 있었다. 하지만 실제 서비스에서 가장 중요한 부분은 사용자의 역할(Role)에 따라 접근 가능한 영역이 다르다는 점이다. 예를 들어 /member/post는 일반 사용자와 관리자가 글을 작성할 수 있는 영역이지만, /admin/post는 관리자만 접근할 수 있는 영역이다. 만약 일반 사용자가 관리자 영역에 접근할 수 있다면 보안상 큰 문제가 발생한다. 이러한 역할 기반 접근 제어를 위해서는 Guard에서 JWT 인증뿐만 아니라 역할 체크까지 함께 수행해야 한다. 즉, 토큰의 유효성을 확인하고, payload에 포함된 역할 정보를 기반으로 요청자가 해당 API를 수행할 권한이 있는지 판단하는 것이 중요하다. 오늘 이부분에 관련해서 한번 정리하려고 한다.
역할 데코레이터 생성하기
nest g decorator auth/roles --flathttps://docs.nestjs.com/fundamentals/execution-context#reflection-and-metadata
import { Reflector } from '@nestjs/core';

export const Roles = Reflector.createDecorator<string[]>();
이렇게 하면 @Roles(['ADMIN']) 데코레이터가 만들어지고 그 안에 배열로 값을 넣으면 된다.
Guard 수정하기
import {
CanActivate,
ExecutionContext,
Injectable,
UnauthorizedException,
} from '@nestjs/common';
import { JwtService } from '@nestjs/jwt';
import { Request } from 'express';
import { jwtConstants } from './constants';
import { Reflector } from '@nestjs/core';
import { Roles } from './roles.decorator';
@Injectable()
export class AuthGuard implements CanActivate {
constructor(
private readonly jwtService: JwtService,
private readonly reflector: Reflector,
) {}
async canActivate(context: ExecutionContext): Promise<boolean> {
const request = context.switchToHttp().getRequest();
const token = this.extractTokenFromHeader(request);
// 제외할 경로 추가
const publicPaths = ['/member/login', '/member/register'];
if (publicPaths.includes(request.url)) {
return true;
}
if (!token) {
throw new UnauthorizedException('토큰이 존재하지 않음');
}
try {
const payload = await this.jwtService.verifyAsync(token, {
secret: jwtConstants.secret,
});
// 💡 We're assigning the payload to the request object here
// so that we can access it in our route handlers
request['user'] = payload;
} catch {
throw new UnauthorizedException('토큰 검증 실패');
}
// 권한 확인하기
const roles = this.reflector.getAllAndOverride(Roles, [
context.getHandler(),
context.getClass(),
]);
const { user } = context.switchToHttp().getRequest();
if (!roles.includes(user.role)) {
throw new UnauthorizedException('권한없음');
}
return true;
}
private extractTokenFromHeader(request: Request): string | undefined {
const [type, token] = request.headers.authorization?.split(' ') ?? [];
return type === 'Bearer' ? token : undefined;
}
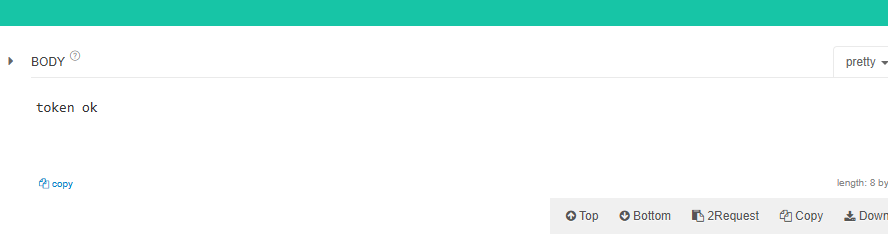
}컨트롤러 권한 셋팅
@Roles(['USER'])
@Controller('member')
테스트하기

'NestJS > 개발' 카테고리의 다른 글
| Redis/BullMQ 이용하여 연산 작업 따로하기 (0) | 2025.12.23 |
|---|---|
| JWT - Passport 사용하기 (0) | 2025.12.22 |
| JWT - 토큰 활용하기 (0) | 2025.12.21 |
| JWT - 로그인 후 발급하기 (1) | 2025.12.21 |
| NestJS + Prisma 연결하기 - (공식 문서를 잘 확인하자...) (0) | 2025.12.20 |